Capos are similar to a guitar nut found in one of the two anchor points that hold the string intact to vibrate and produce sounds. The main difference between capos and a guitar nut is that capos are movable and are situated in one of the two anchor points that retain the string intact so it can vibrate and make sounds. Its main purpose is to provide the same type of vibration termination without the need to change the pitch of your open strings by adjusting your tuning keys. They simply work in conjunction with the nut of your guitar.
There are certain reasons that explain why your capo isn’t working. These include poor pressure, fretboard design, worn-off padding, and wrong placement.
Poor Pressure
One factor that may cause your capo to malfunction is poor pressure. As mentioned above, capos apply pressure to hold your string firmly so that you may change the pitch of your string without adjusting your tuning keys.
If the pressure applied by your capo is insufficient to stably hold down your strings onto the fretboard, you will hear buzzing, poor intonation, and poor sound quality. Poor pressure application by your capo merely signifies that its tension mechanism, such as springs and knobs, or possibly the entire capo, must be replaced.
Fretboard Design
Another reason that your capo isn’t working as it should is that you are using the wrong capo for the type of guitar you have. There are two basic designs for capos: flat capos – applicable for flat necked guitars and rounded capos, which are perfect for curved neck guitars.
If you interchange capos with the opposite fretboard shape of your guitar, it will result in uneven application of pressure onto your strings, leading to poor sound production. For instance, If you place a flat capo onto a round-necked fretboard, then both E strings wouldn’t perform the same as the rest of the strings. This makes it essential to use the right capo on your guitar.
Worn Off Padding
Suppose your capo’s tension mechanism applies the ideal and sufficient amount of pressure on your strings, yet your capo still doesn’t perform as it should, in that case, the next area you should inspect is its padding.
Capos come equipped with rubber or silicon paddings. These are the ones to physically have contact with your guitar’s neck, strings, and fretboard. Additionally, they are the ones who grip and keep your strings intact firmly on the fretboard.
The vibrations of tensioned strings are held in place by the bridge pin on one side and the tuning pegs, as well as the nut on the other, to produce the sound we hear from guitars. The padding on a capo, on the other hand, keeps this stress in place. These paddings are subject to wear and tear over time. Both the pressure of holding the strings down and the vibrations of the strings cause them to form large tracks and grooves. When this happens, it’s time to replace your capo or get new rubber or silicon sleeves.
Wrong Placement
If ever all factors above are not the issue, then the last thing you may check is if you applied your capo properly on your strings. It is crucial to place the capo properly to ensure that the sound you produce is spot on and that your strings stay in tune. Below is the proper procedure for placing your capo onto your guitar.
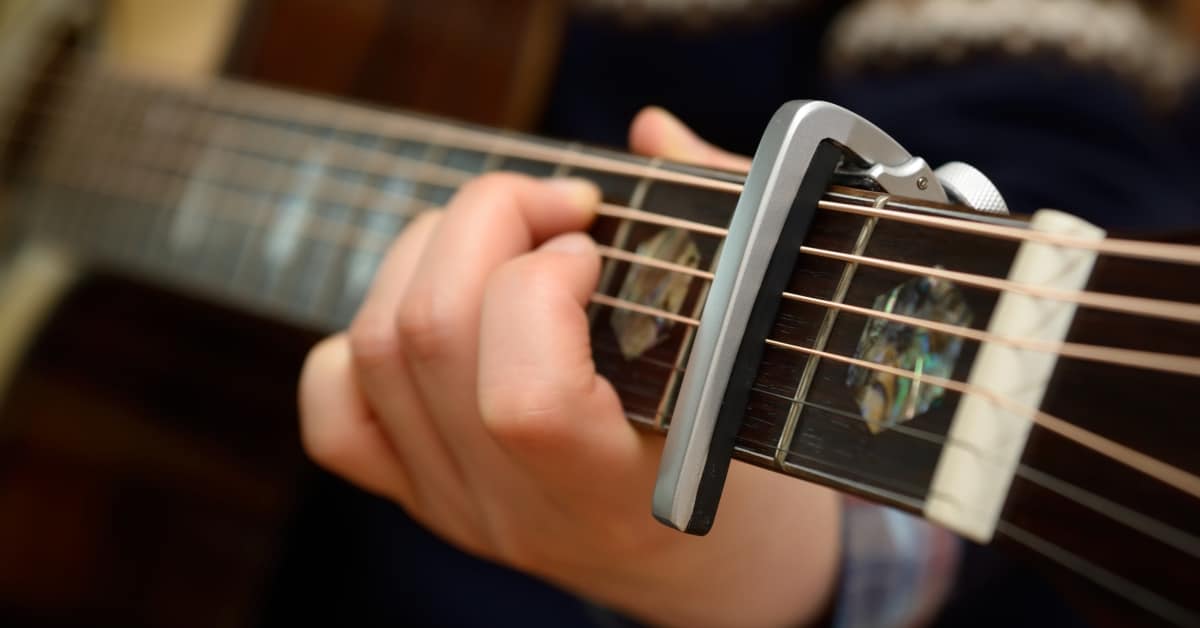
- Hold your guitar and capo in the correct position. Place the guitar onto your lap, then position it the same way you play it.
- Hold the capo in your fretting hand and clip or slip it onto the desired fret.
- Before tightening your capo, position it slightly behind the fret bar and tighten it. Don’t put it on top of the fret bar or elsewhere on the fretboard where there will be a space between your capo and the fret bar since this will cause your guitar to go sharp.
- Make sure your capo is securely fastened to the neck of your guitar and that it applies pressure to all of the strings.
- Test and enjoy playing.