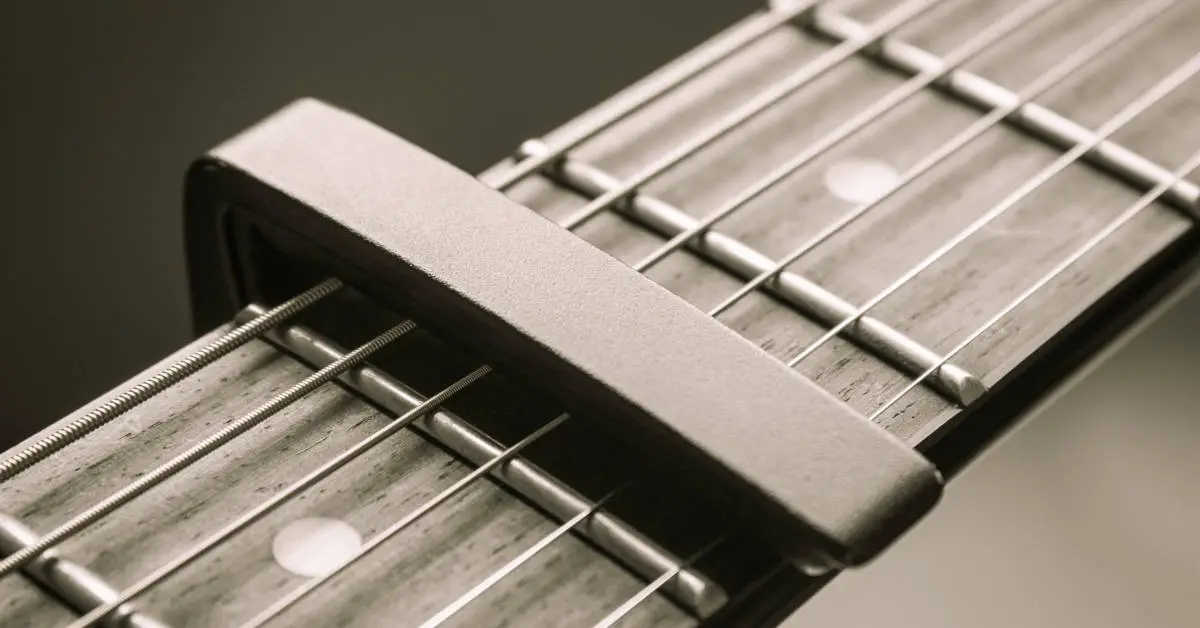
To make your own guitar capo, you will need the following materials:
- Sharpie, pencil, or pen (you may use any rigid material that does not easily break)
- 4 thick rubber bands
Steps To Make a Capo
1. Make sure that your guitar is tuned.
You must never attempt to tune your guitar while the capo is still attached to it. Many YouTube tutorials will guide you in correctly tuning your guitar, so make sure this is settled before proceeding to the next step. If you want to adjust the tuning, remove the capo before doing so.
2. Position the sharpie, pencil, or pen on the neck of the guitar, specifically on the desired fret.
The purpose of a capo is to clamp down the guitar strings to raise their pitch. The higher the fret number, the higher the pitch.
3. Get one rubber band and fold it in half.
Your pen will be pressed down onto the desired fret using the rubber band. You want to achieve the right tension to produce a sound, so make sure you have enough rubber bands.
4. Loop the first half around the tip of the pen while the other half of the rubber band is looped around the bottom part of the pen
This is to allow the pen to stick to the strings, locking them in place.
5. To check if your DIY capo is tight enough, try playing a chord or plucking each string.
The capo is placed properly if each string produces a clear sound as you pluck them. But if there are strings that sound dull or do not produce a sound at all when you pluck them, then you might have to re-adjust your capo.
6. Add more rubber bands to obtain the needed tension.
If a string does not generate a clear tone while plucking it one at a time, use more rubber bands to tighten the capo’s grip on the fret. The strings will not produce a sound if the capo is not tight enough. However, it is essential to ensure that you will not overdo this because too much tension can damage your strings. It may not necessarily break them, but they will wear them out in the long run.
We hope this has been useful and has given you some ideas on how to make your own capo!


